How To Create An Embed Message In Discord – Tutorial
Page Contents:
Embed messages in Discord are an excellent way to share information in a visually appealing and organized manner.
With the help of dotNotify, the message scheduling bot for Discord, creating and scheduling embed messages is a breeze. In this tutorial, we will walk you through the process of creating an embed message for your Discord server using dotNotify’s user-friendly interface.
We will also look at how you can also set up recurring reminder-style embed messages, as well as schedule them to be delivered to any channel at any time within your Discord server.
Step 1: Add dotNotify to Your Discord Server
Before you can create an embed message using dotNotify, you need to add the bot to your Discord server.
If you have not done this already, visit the dotNotify website and click the “Add to Discord” button. Follow the prompts to authorize dotNotify to access your server.
Step 2: Access the dotNotify Dashboard
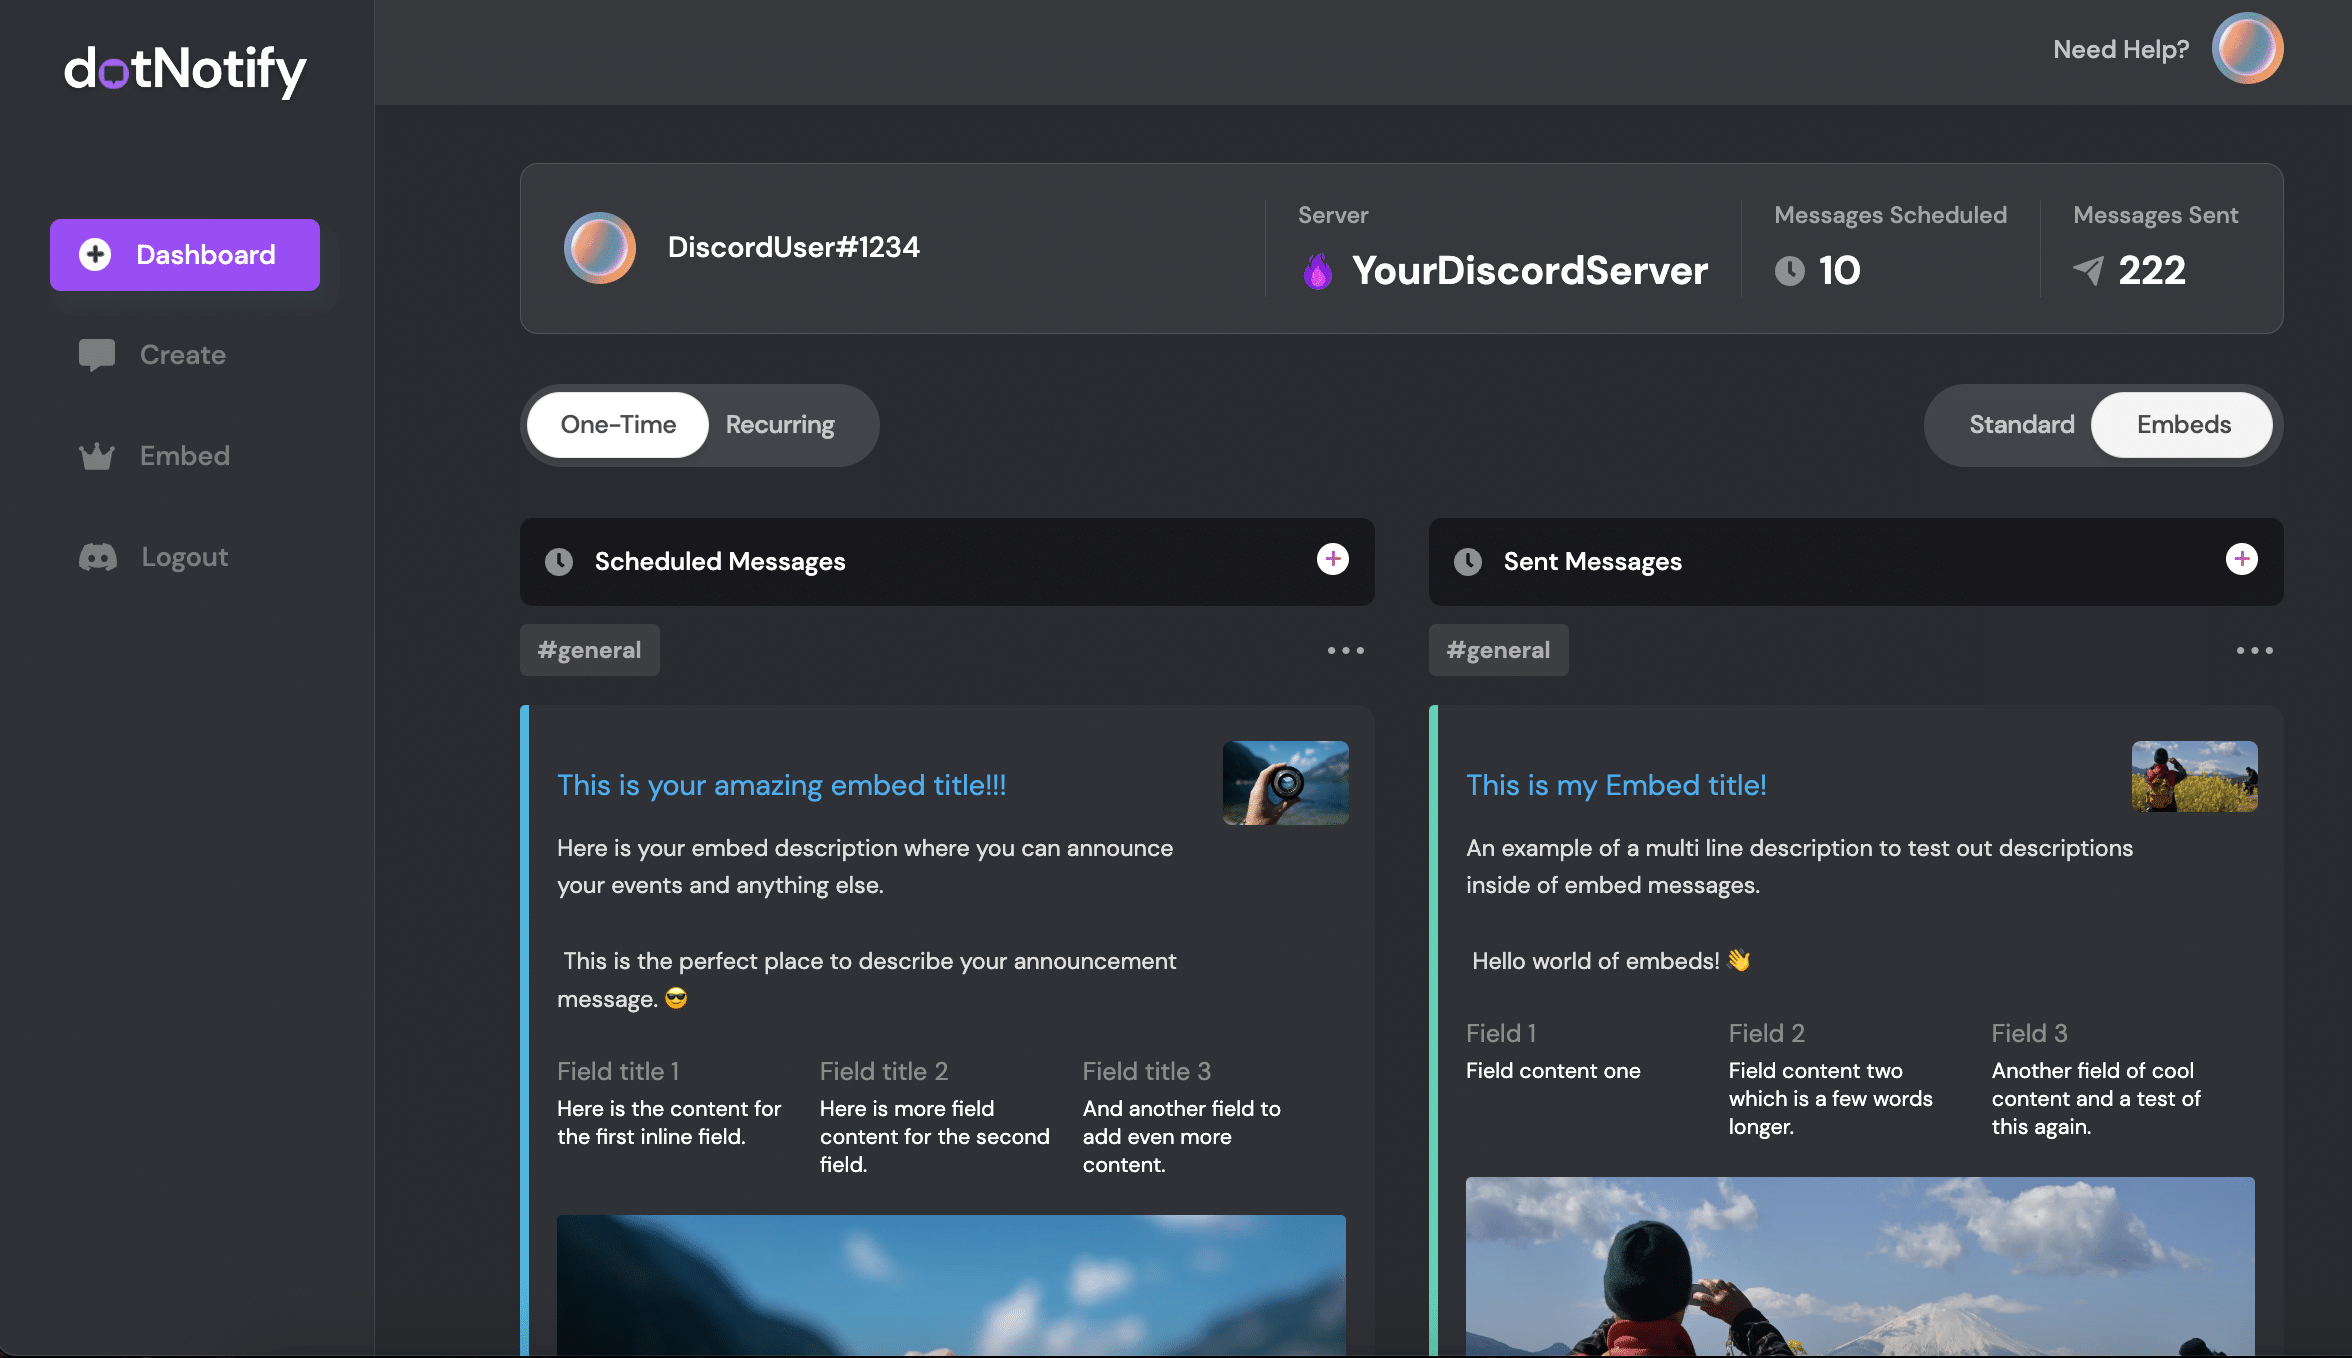
Once dotNotify is added to your server, you will be redirected to the Dashboard. Here you will be able to manage all of your embed messages once you have them scheduled and created.
Firstly, we need to create an embed message.
Step 3: Create a New Embed Message
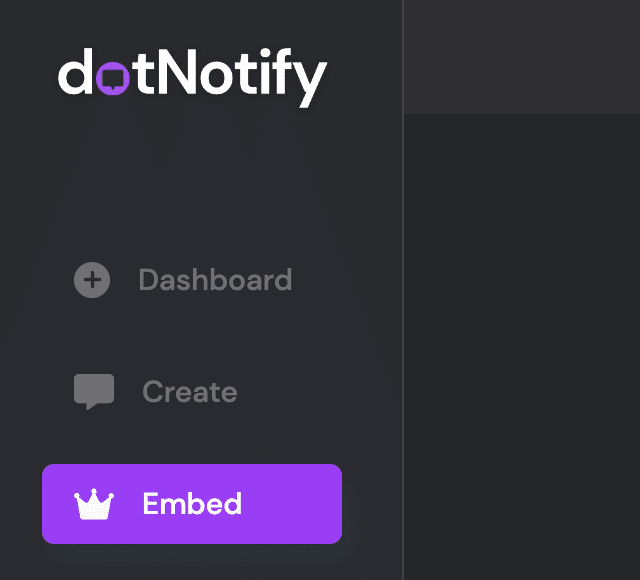
From the dotNotify dashboard, navigate to the “Embed” section. This will take you to the Discord embed generator page.
Step 4: Customize Your Embed Message
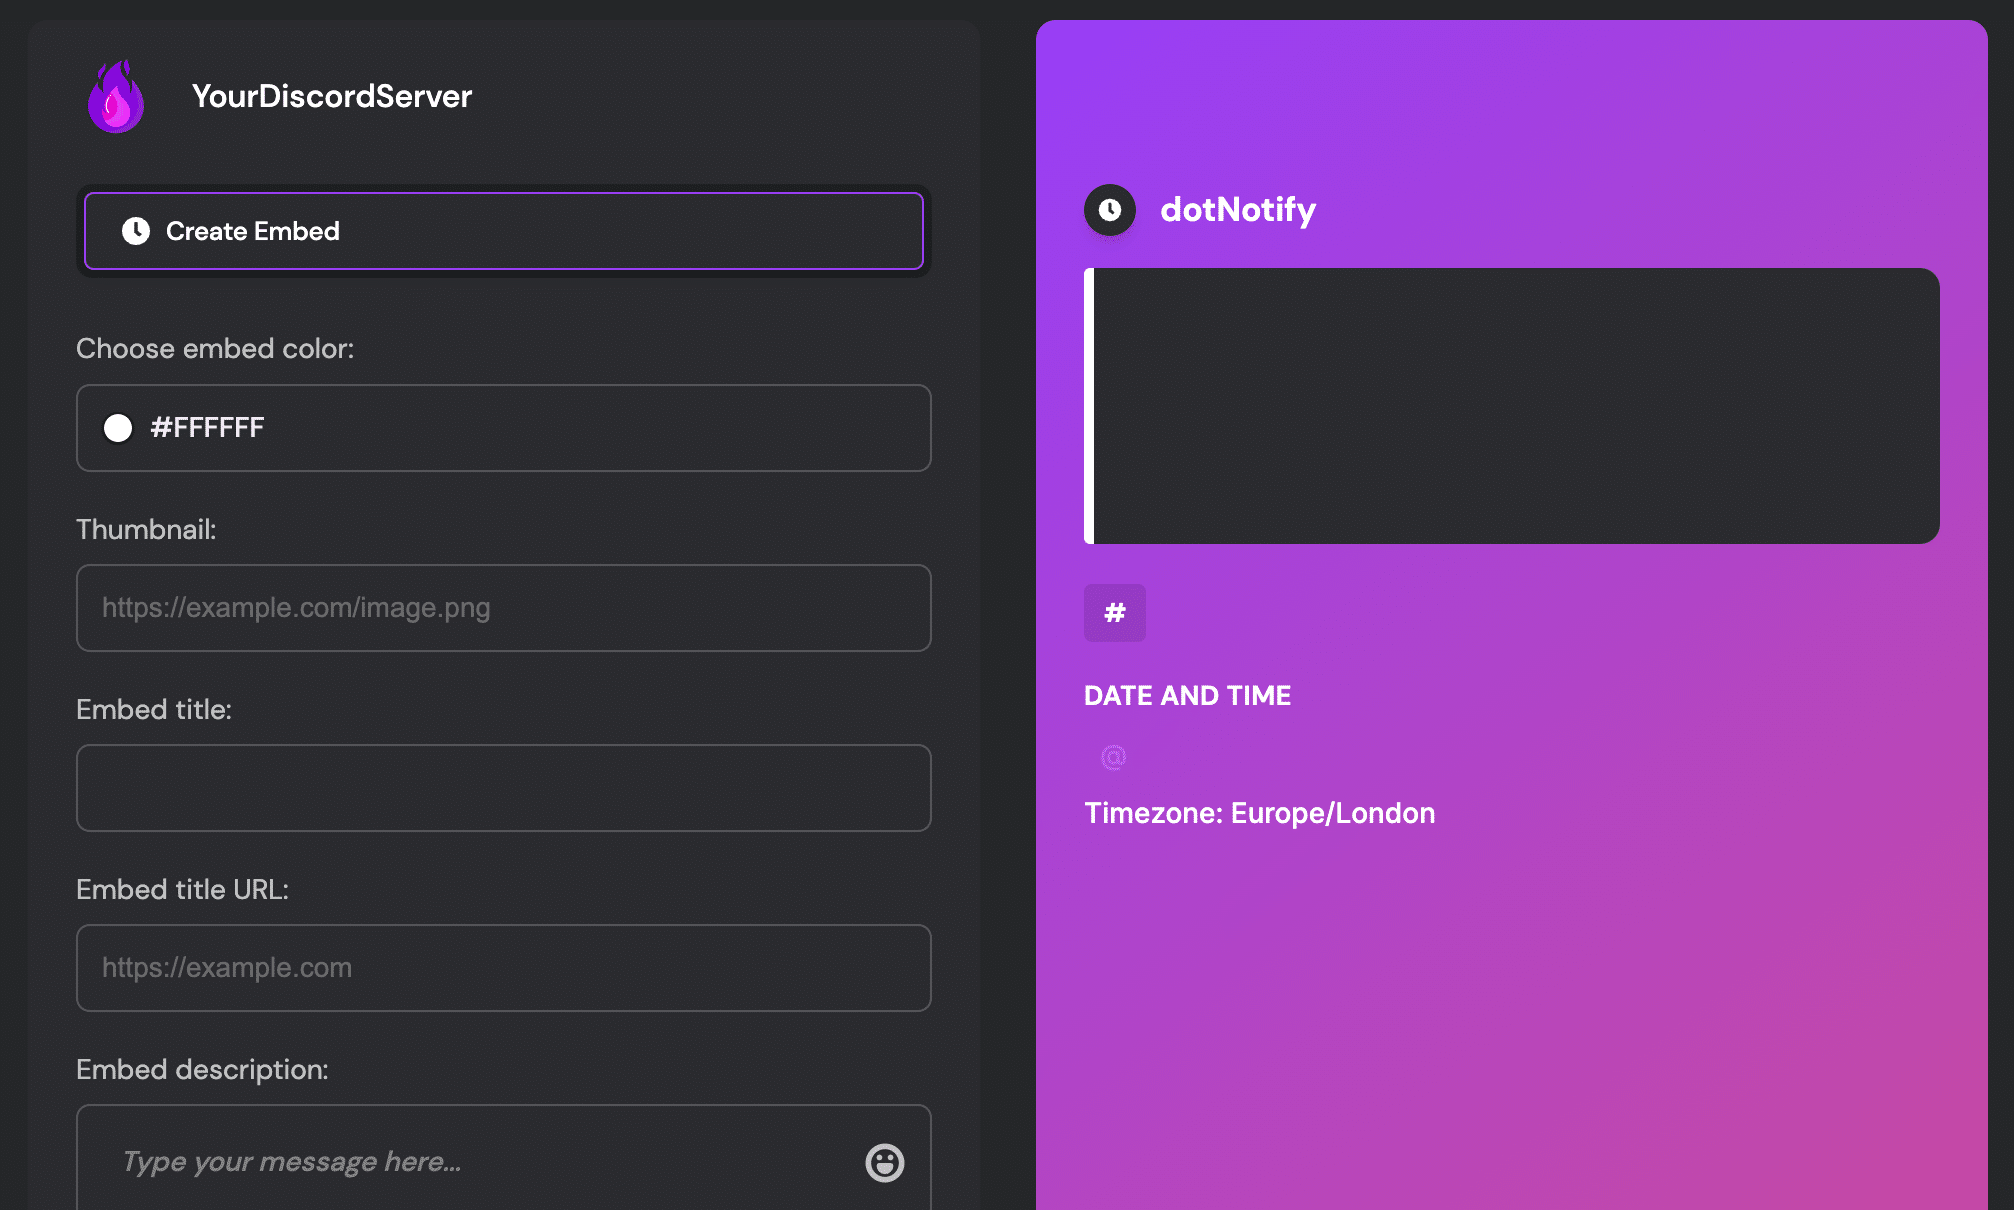
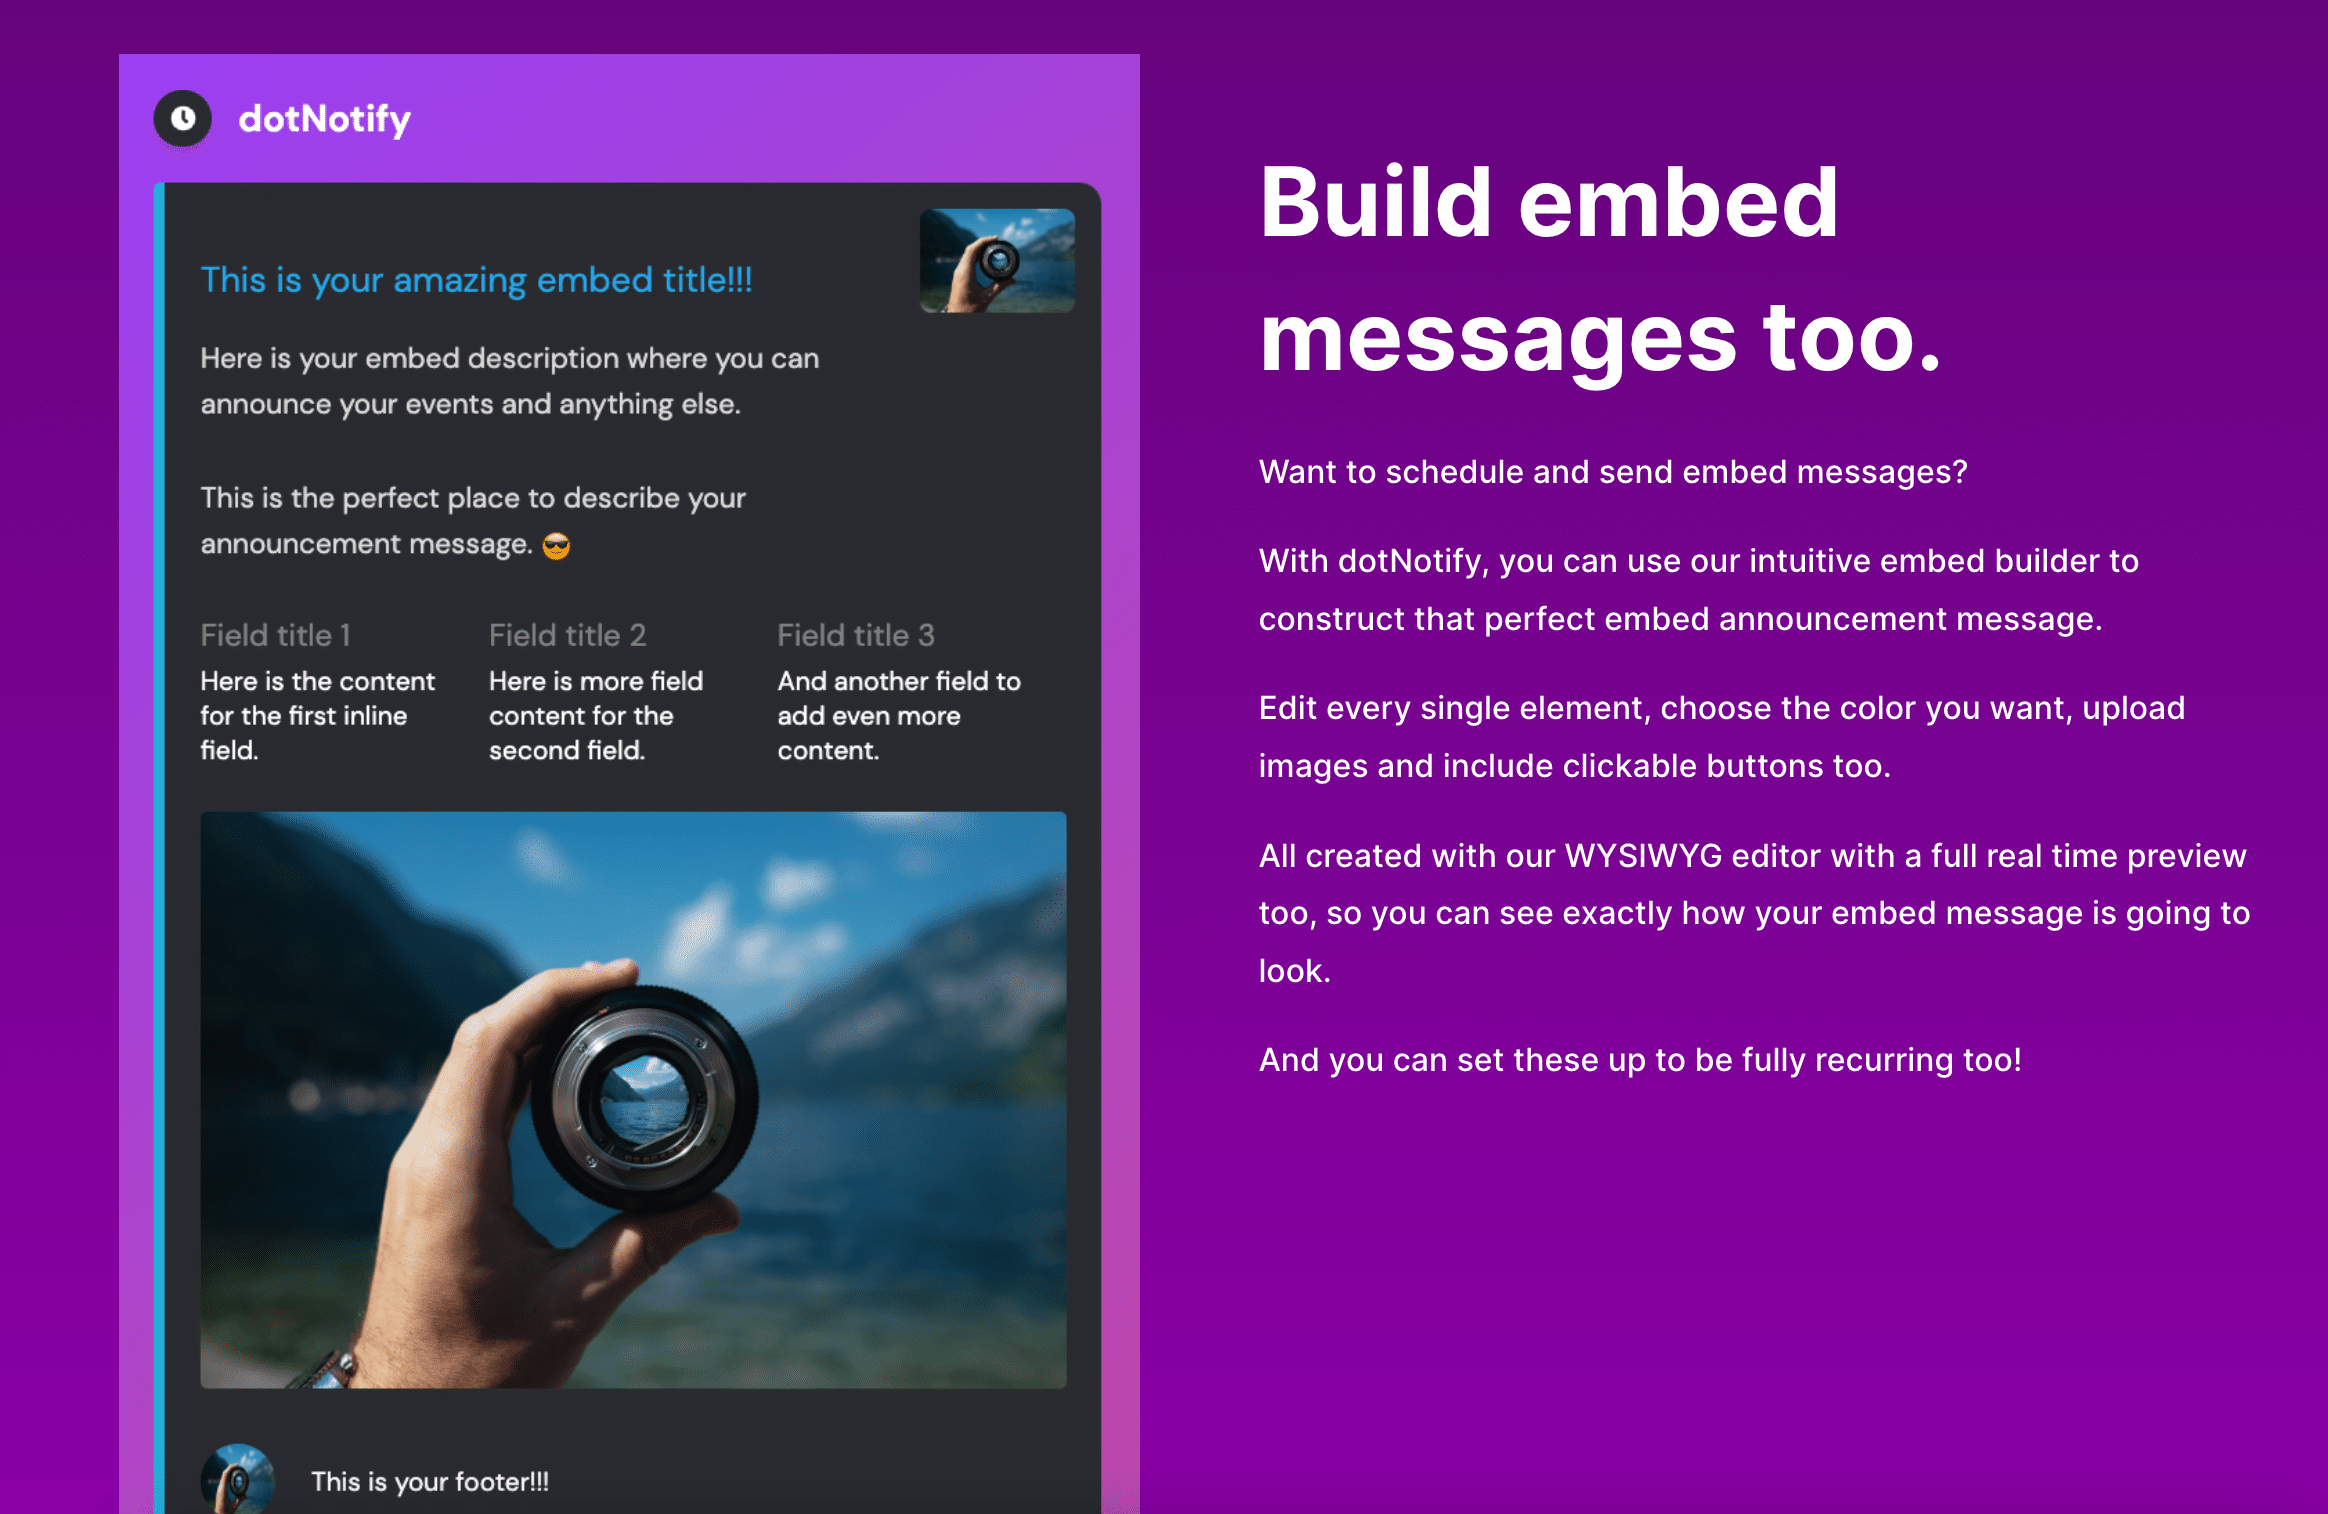
dotNotify offers various customization options for your embed message.
You can set the following elements:
- Title: Add a title to your embed message.
- Description: Write a description that provides more information about your embed’s content.
- Color: Choose a color for your embed’s side border. This can be done by inputting a HEX color code or selecting a color from the color picker.
- Thumbnail: Add a thumbnail image by providing a direct image URL. The image will appear in the top right corner of your embed.
- Image: Include a larger image by providing a direct image URL. The image will appear below the embed’s description.
- Fields: Add fields to your embed message to organize information in a structured manner. You can create multiple fields with separate titles and values.
- Link Buttons: You can also add link buttons to your embed too.
- Footer: There is also a footer icon and text options too.
The way you create your Discord embed message is up to you. You can choose whichever fields you want to add, and any left blank will be left off the message.
You can preview the message in real-time whilst you add the different elements so you can be sure you have created it just how you want it.
Step 5: Schedule Your Embed Message
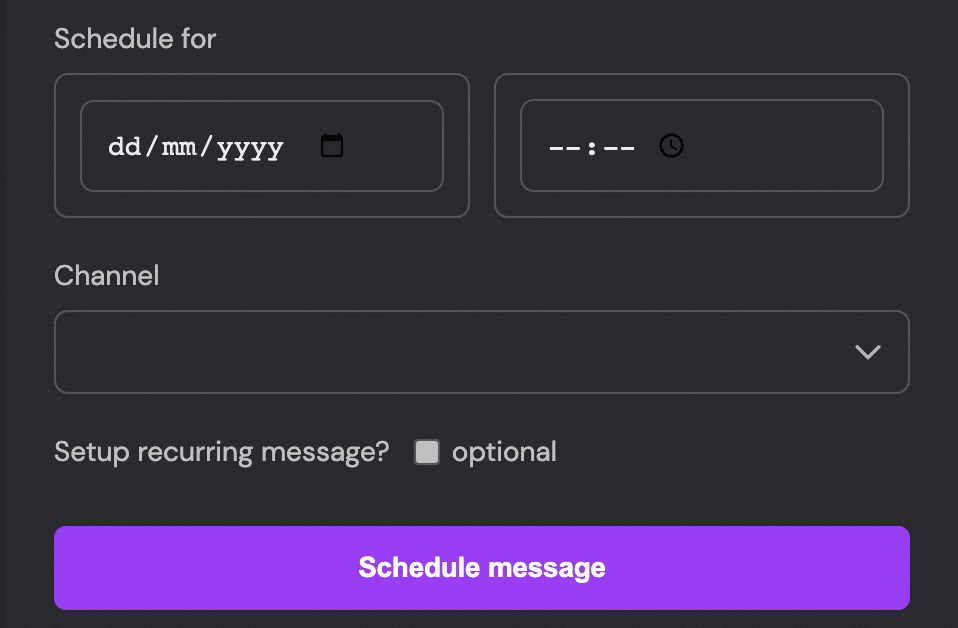
Once you are happy with your message, you can choose the channel, time and date you would like your embed to send. If you want to send it right away, you can too.
(Optional) Step 6: Set Up Reminder Messages
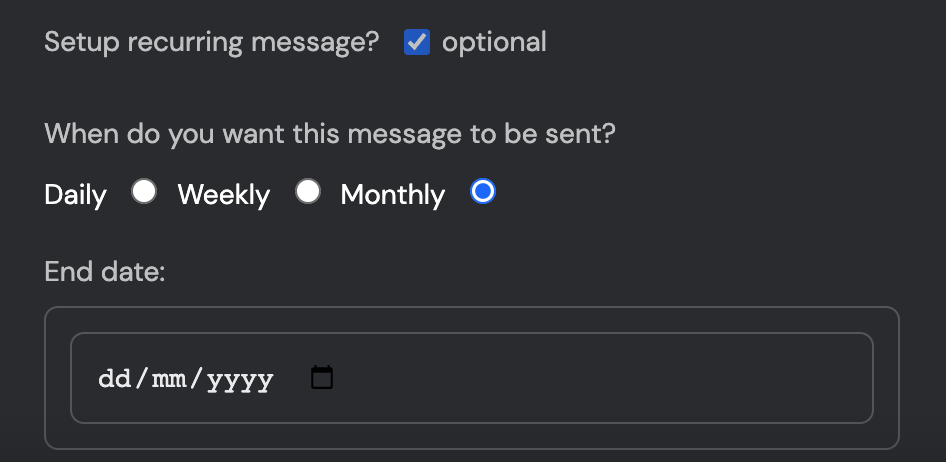
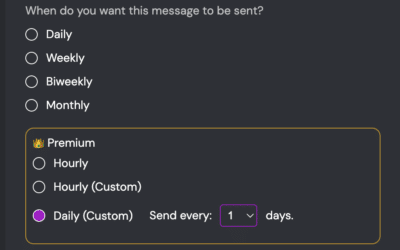
You can set up repeat messages if you want your embed message to be sent regularly.
To do this, you only have to click on the repeat message checkbox. Here you will see options to schedule your message daily, weekly, and monthly. You can set an end date too. Leave this option unchecked to send your message one time.
Step 7: Managing Your Embed Messages
After you have created your embed message, it will appear on your Dashboard. Here you can manage it and delete it if necessary.
That’s it. You are done and have successfully learned how to create an embed message in Discord using dotNotify.
Creating embed messages in Discord with dotNotify is a simple and effective way to share visually appealing and organized content with your community.
With its easy-to-use interface and customization options, dotNotify allows you to design and schedule embed messages that perfectly suit your server’s needs.

